How to Create a Facebook Chatbot for Free in 10 Minutes
In social media today, response rate and engagement are everything.
Customers and fans want to engage with the Facebook pages they follow through private messaging, and they expect a response very quickly.
To earn Facebook’s “Very responsive to messages” badge your average response time has to be under 15 minutes, that’s tough!
This is where Facebook chatbots come in, and they are quickly becoming integrated into every business’ digital marketing strategy.
When set up correctly, chatbots engage with your customers directly using automation to help create conversation and answer any questions your customers have.
Chatbots can:
- Intelligently answer questions from your customers.
- Generate leads for your business.
- Manage and improve your customer relationships.
- Increase customer satisfaction with timely responses.
- Broadcast your promotions, news and messages.
- Help you understand your customer’s needs better.
Big brands like Adidas, BuzzFeed and Volkswagen are already using chatbots as part of their marketing strategy; in the next few years fully automated chatbots will become an integrated part of any brand’s social media profile.
So if you’re interested in improving your customer relationships and online presence, we’ve created this step by step guide to show you how you can create your first chatbot at no cost in 10 minutes or less.
Creating Your First Facebook Chatbot
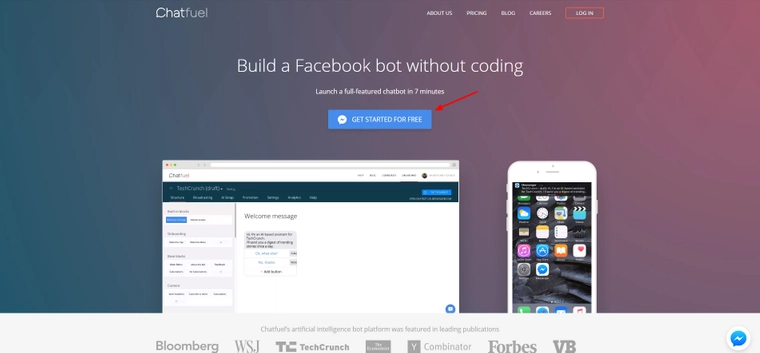
We’re going to be using Chatfuel to create our Facebook chatbot, Chatfuel has a simple interface with no coding required, making it easy for anyone to pick up and use.
Start by visiting https://chatfuel.com/ and click the “Get Started for free” button.
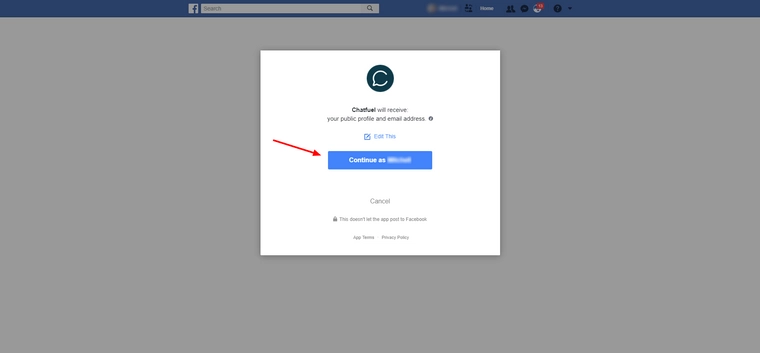
The next screen that pops up should be your Facebook asking for permission to give Chatfuel access to your profile, make sure you’re logged into the right Facebook account and click the continue button.
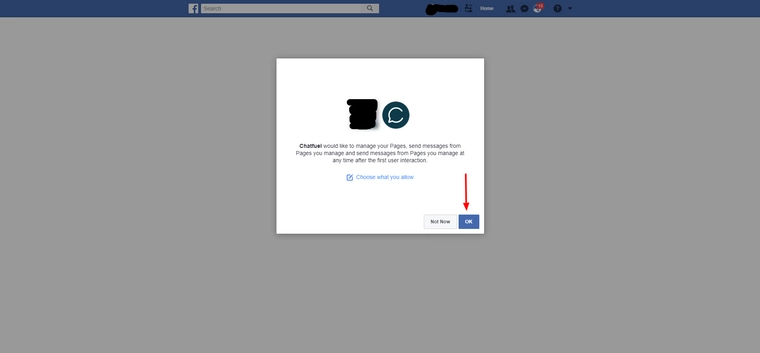
Then Facebook will ask for permission to give Chatfuel access to your pages, hit the OK button.
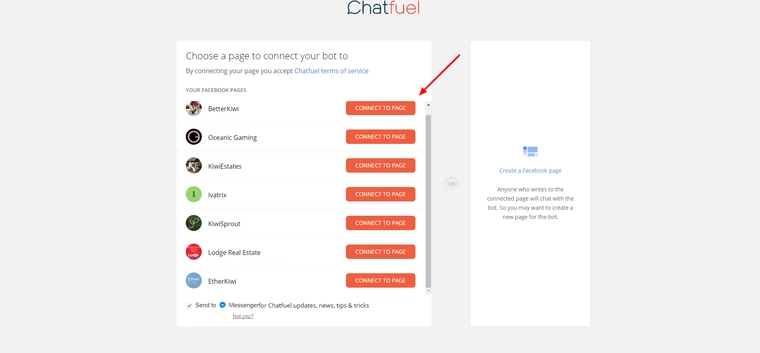
Next Chatfuel will ask you what page you want to connect your new bot too, click the “connect to page” button on the page you want to connect.
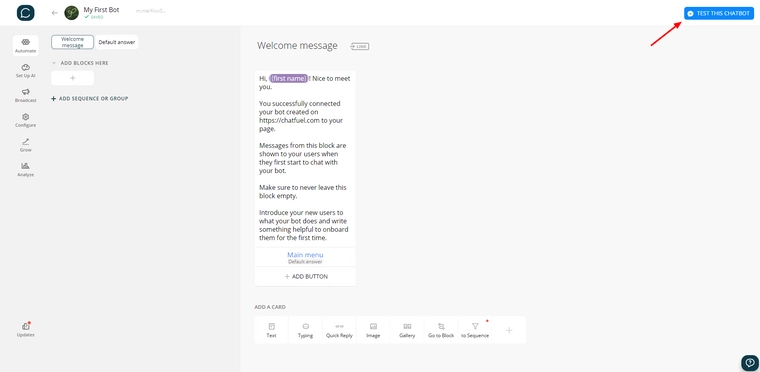
You should now be in your Chatfuel dashboard! A default welcome message should already be set up for your bot, this welcome message will be what shows when a user first starts a conversation with your page. You can test out your chatbot in action by clicking “test this chatbot” in the top right of the dashboard.
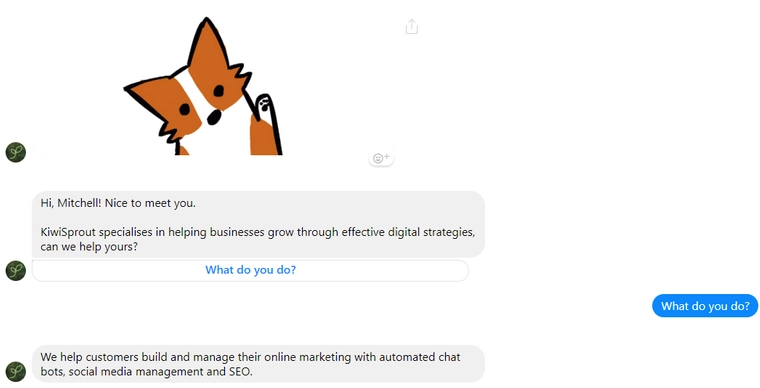
You’ll notice that your Facebook profile got a message from your Facebook page, it should look something like this:
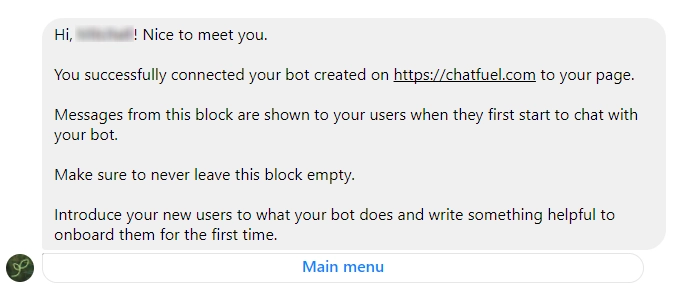
Congratulations! Your Facebook Chatbot has been successfully set up, now we’re going to customise it to say what we want.
Changing Your Chatbot’s Welcome Message
Back in the Chatfuel dashboard, click on the welcome message text to start editing it. Replace the default welcome message with what you want your bot to say when a user first starts messaging the page.
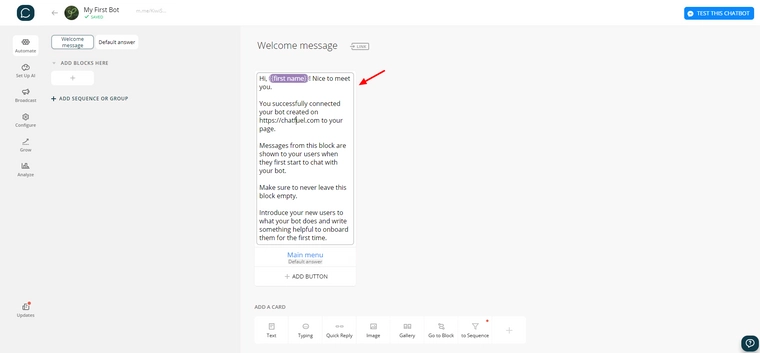
You may have noticed a purple label in the default message, this label is a placeholder for custom information that the chatbot can use, the example we see here of {{first name}} will be replaced with the user’s first name when the chatbot sends the message.
The placeholders are useful to help make your chatbot’s messages more personal, increasing authenticity and improving the customer relationship.
There’s a lot of placeholders to use, but the most useful ones are:
- {{first name}} – The user’s first name.
- {{last name}} – The user’s last name.
- {{gender}} – The user’s gender.
- {{timezone}} – The user’s timezone.
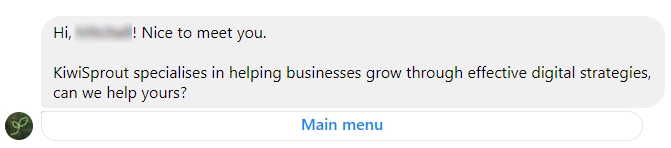
Once you’re happy with your new welcome message, click the test button in the top right of the dashboard again and you should receive your new welcome message from the page.
Great work! But just using text is pretty boring. Next, we’re going to add a gif to our welcome message to spice things up.
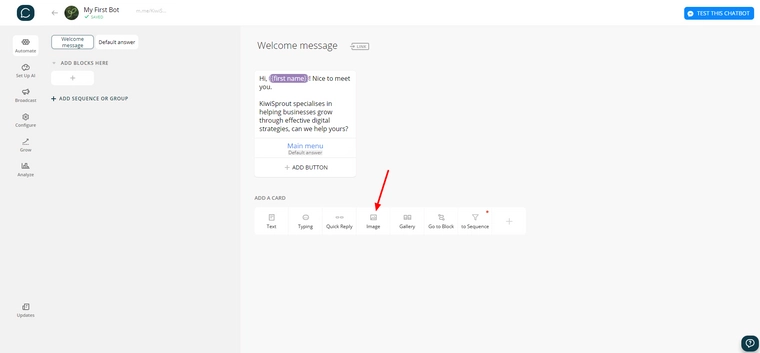
Below your welcome message is a selection of “cards” that you can add to your chain of messages, these cards represent a message your bot will send, like text or an image, or an action that it will do, like pretending to type for a second.
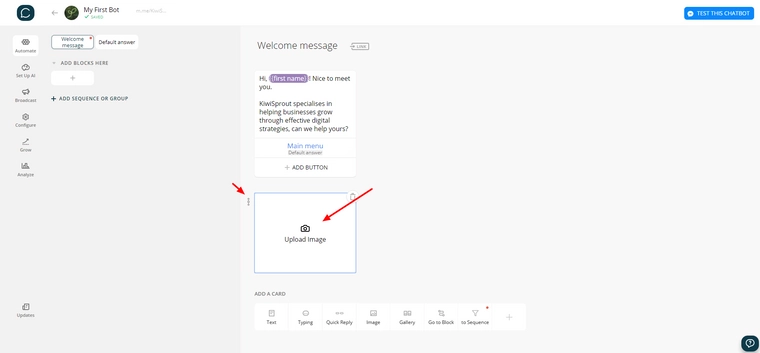
Click the image card at the bottom of your dashboard to add an image message to your set of welcome messages.
Next we’re going to add our image, we used this gif of a waving dog to say hello:

Click on “Upload Image” to upload your image, you can also drag the image card to the top by holding the mouse down and dragging the icon to the left of the image card to above your text card, this will make the image appear before your text message.
Once your image is uploaded and you’ve moved the image to the top, it should look something like this:
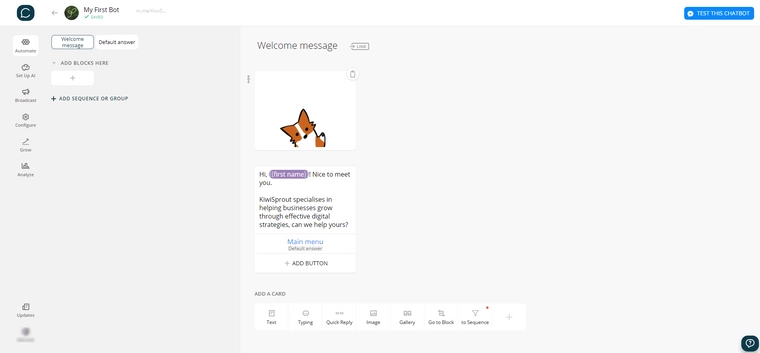
Test your chatbot again using the test button in the top right and you should now see your image appearing before your text message.
Note: Avoid uploading large images, images with a file size greater than 1MB are typically sent and received at a delay.

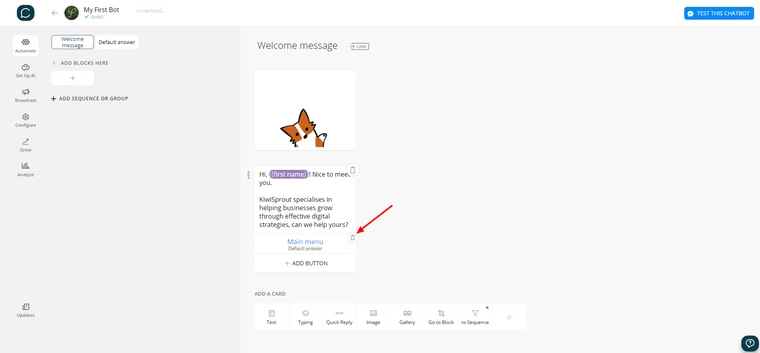
Now that’s got some life to it! You may have noticed the button below your text message, right now it doesn’t do much, let’s change that.
Adding Buttons to Your Chatbot
Go back to the Chatfuel dashboard and click the trash icon next to the “Main menu” button, we’re going to replace it with new buttons of our own.
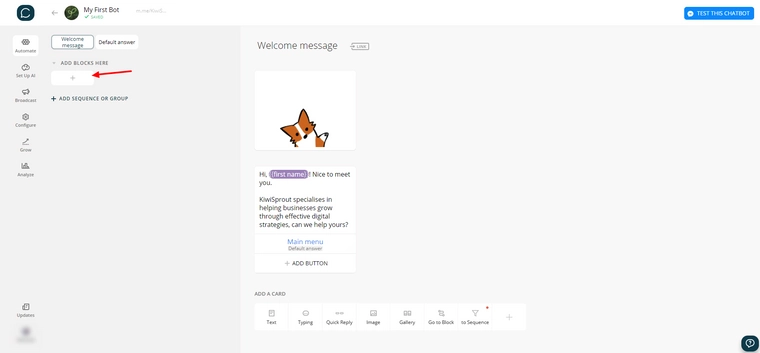
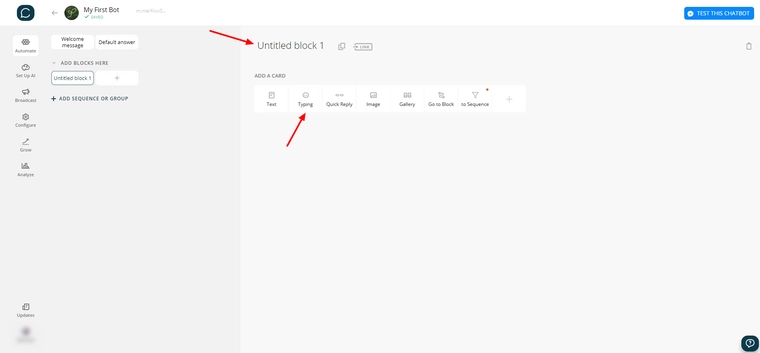
Next, we’re going to create a new block to trigger for our first button. Blocks are a sequence of cards (messages and actions) that execute when the block starts, our block is going to answer a question triggered by pressing a button on our welcome message. On the left-hand side of the dashboard, click the plus sign below the heading “add blocks here” to create your new block.
Give your block a new name so you can easily recognise it, we recommend naming it the same as the label for the button that will take users to the block such as naming the block “What do you do?” if the button label is going to say “What do you do?”. Then click the “typing” card at the bottom of the dashboard to add a typing card to your block.
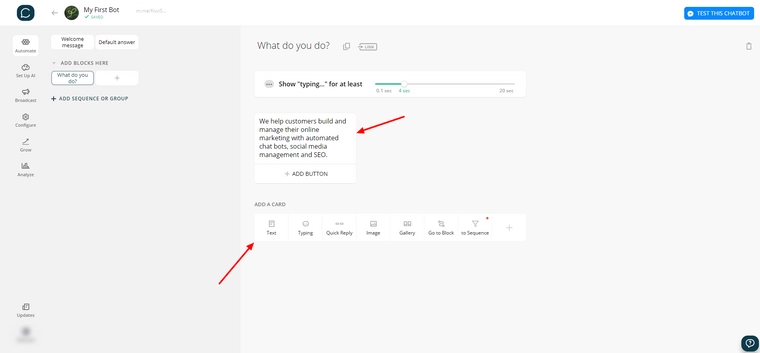
The typing card simulates a human typing for a certain period of time before it does the next card, this is useful for giving your chatbot a less robotic feel by pacing the conversation like it’s a conversation between two humans. You can also drag the slider to the right of the heading “Show typing… for at least” to simulate typing for more or less time.
Now we’re going to create the response, click the text card at the bottom of the dashboard and a new text card should appear below the typing card. Edit the text the same way we edited the text card for the welcome message.
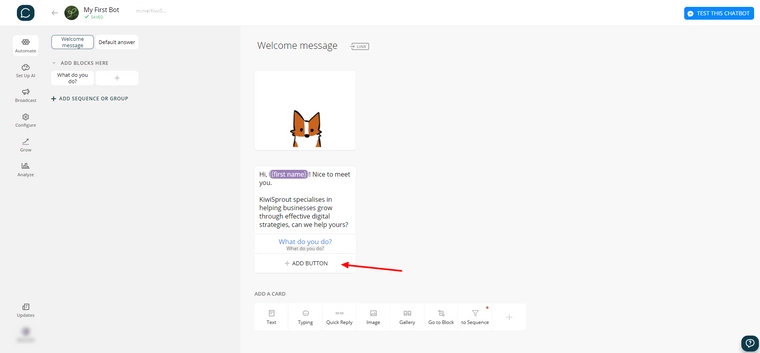
Now that we’ve created our block, click on the “Welcome message” block on the left-side of the dashboard to return to the welcome message, then click “+ add button” below our text card.
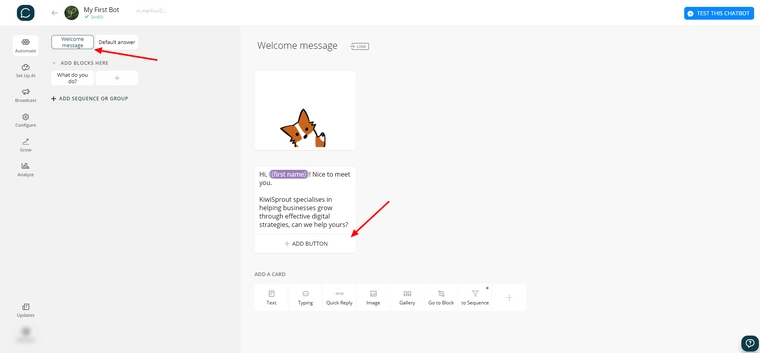
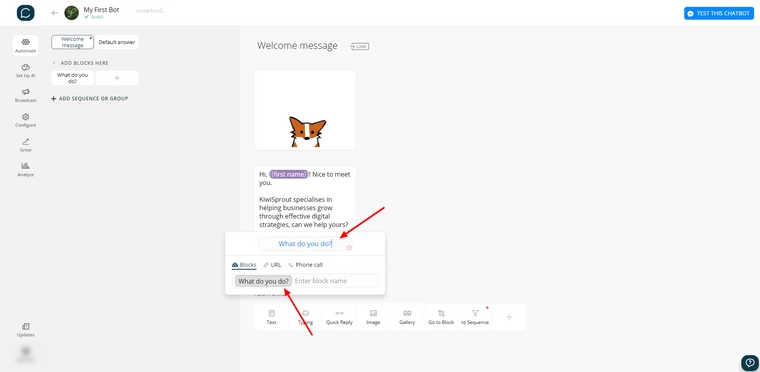
Enter the label for your button into the top field, then type and select the block you created in the bottom field to link your button to that block.
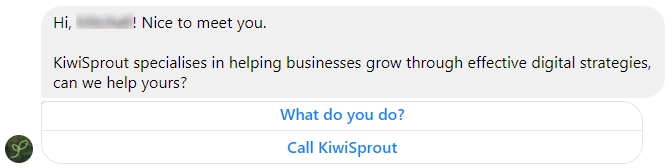
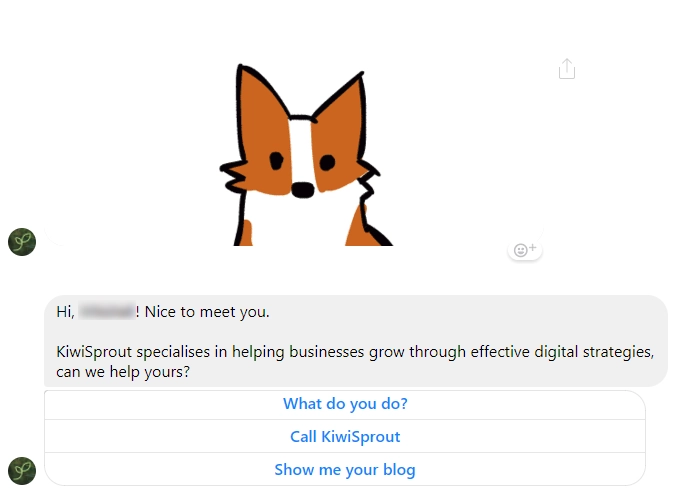
Test your chatbot to see your new button, when you click it you should see your chatbot briefly start typing then send your response like so:
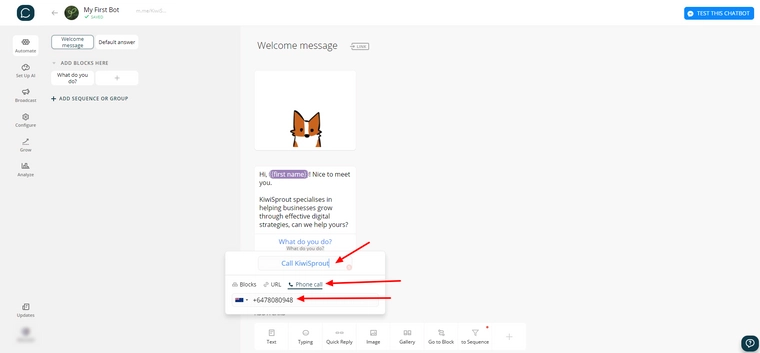
Awesome! Let’s add another button for people who want to call our business. Back in the dashboard click “+ add button” again in your welcome message’s text card to add a new button.
Edit the label for your button, we’ve labelled ours “Call KiwiSprout”, then click “Phone call” below your label and enter your phone number into the field below.
Edit the label for your button, we’ve labelled ours “Call KiwiSprout”, then click “Phone call” below your label and enter your phone number into the field below.
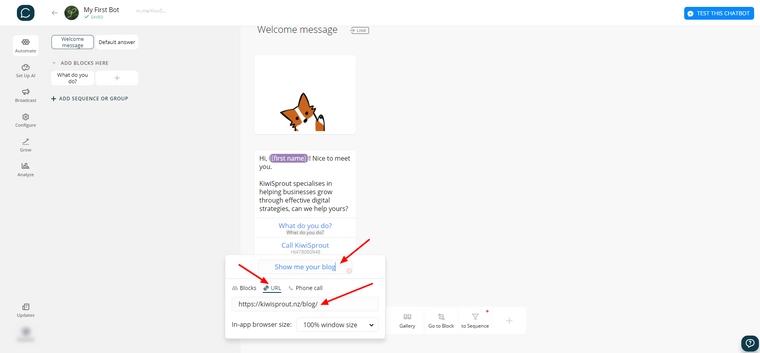
We’re going to add one last button that takes users to a web page (in this case, our blog). Add another button to your text card, give your button a good label and this time click “URL” below your label and put your web page’s URL into the field below.
Changing Your Chatbot’s Default Answer
Our chatbot’s looking pretty cool, but we need to add a default answer so that when someone types a message that our chatbot doesn’t know how to handle we can keep them engaged.
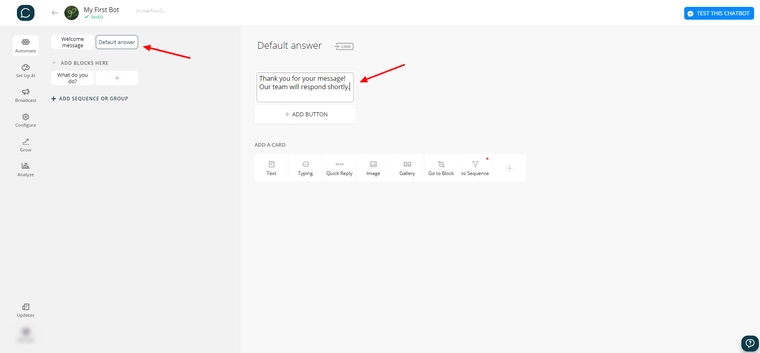
In the left-side of the dashboard, click the “Default answer” block then replace the placeholder text in the default answer block with your own message.
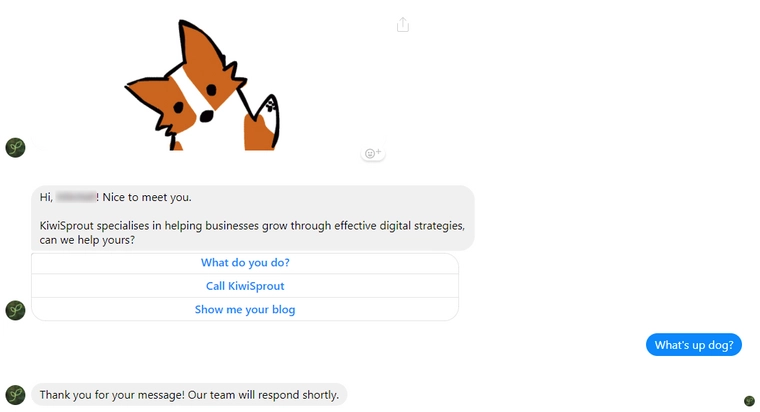
Now if you test your chatbot and message it something unexpected, you should see your default message appear:
Congratulations! You’ve finished making your first Facebook chatbot. Now that you know a little bit about how to use Chatfuel, here’s a few ideas on how you could improve your own chatbot:
- Add some buttons to your default message and other custom blocks to keep the automated conversation going.
- Try adding other cards to your blocks, like a gallery for your products.
If you liked this blog post, subscribe to our newsletter on the right side bar to receive our new posts straight to your inbox, some of the next blog posts we will be writing includes:
- How to set up AI for your chatbot
- How to broadcast your promotion using your chatbot
- How to send leads to your email from your chatbot